aprilaire 700 humidifier installation manual
- Published
- in Manuals
Aprilaire 700 Humidifier Installation Manual: A Comprehensive Plan
This manual guides you through installing the Aprilaire 700, emphasizing initial setup for optimal home humidity control, referencing Table 1’s operation guide.
Understanding the Aprilaire 700 Humidifier
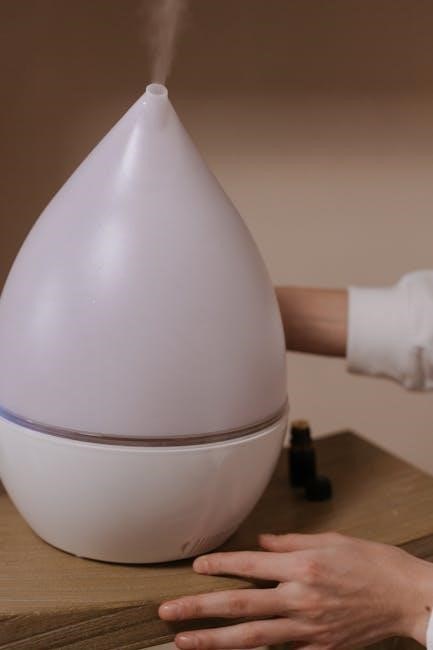
The Aprilaire 700 is a whole-house humidifier designed to add essential moisture to your home’s air during the heating season. It’s installed within the cold air return duct, integrating seamlessly with your existing HVAC system. This model boasts a user-friendly touchscreen display, offering intuitive menu-driven programming and operation.
Unlike some models, the 700 features automatic settings, simplifying initial configuration to match your home’s specific conditions. However, manual adjustments are also possible. Genuine OEM parts are readily available, ensuring long-term reliability. Proper installation, ideally by a qualified HVAC professional, is crucial for optimal performance and efficiency. The 700 aims to provide consistent, comfortable humidity levels throughout your living space.
Key Features of the Aprilaire 700 Model
The Aprilaire 700 stands out with its advanced features designed for ease of use and efficient operation. A prominent feature is the backlit touchscreen display, providing clear visibility and simple navigation through the menu-driven programming. This allows for customized humidity control tailored to your home’s needs.
The model offers both automatic and manual settings, catering to different user preferences. Installation wizards simplify the setup process, though professional installation is recommended. Genuine OEM availability ensures parts are accessible. Its integration into the cold air return duct makes it a discreet addition to your HVAC system, delivering consistent and comfortable humidity throughout your home.
Safety Precautions Before Installation
Prior to commencing installation, ensure the furnace and any associated electrical components are completely de-energized at the breaker panel. This crucial step prevents electrical shock and ensures a safe working environment. Always verify the power is off with a reliable voltage tester.
Exercise caution when working with water lines; proper connection is vital to avoid leaks and potential water damage. If unfamiliar with plumbing or electrical work, professional installation is strongly advised. Wear appropriate safety glasses and gloves during the process. Review all wiring diagrams carefully before making any connections, and adhere to local electrical codes.

Installation Process
The installation involves securing necessary tools, identifying a suitable location near the furnace, and carefully connecting the humidifier to both water and airflow systems.
Tools Required for Installation
Before commencing the Aprilaire 700 installation, gather essential tools for a smooth process. A screwdriver set – both Phillips and flathead – is crucial for various mounting and connection tasks. You’ll also need adjustable pliers to securely tighten fittings on the water supply line.
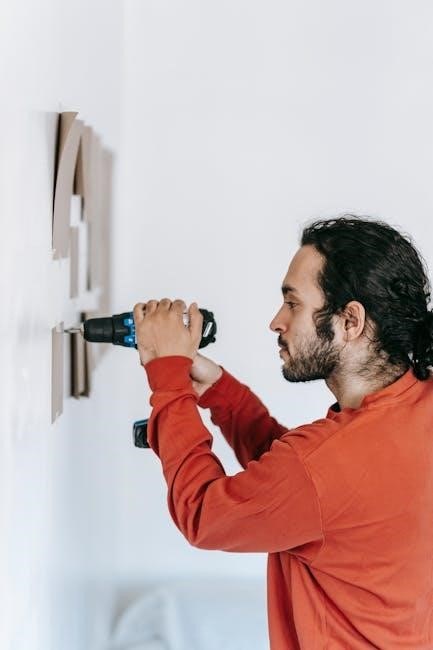
A drill with appropriate drill bits is necessary for creating mounting holes, ensuring a stable installation. A level will guarantee the unit is properly aligned. Wire strippers and connectors are vital for safe and effective electrical wiring. Don’t forget a pipe cutter for precise water line adjustments, and Teflon tape to prevent leaks. Finally, safety glasses are paramount for eye protection throughout the installation.
Locating the Ideal Installation Spot
The Aprilaire 700 humidifier is optimally installed within the cold air return ductwork of your forced-air heating system. Choose a location that allows for sufficient space around the unit for maintenance and filter changes. Ensure the chosen spot is accessible for future servicing.
Avoid areas prone to freezing temperatures, as this can damage the humidifier. Proximity to a suitable water supply line is essential to minimize plumbing work. Consider the airflow direction to ensure efficient moisture distribution throughout your home. A straight duct section is preferable, avoiding sharp bends that could restrict airflow. Prioritize a stable, secure mounting surface.
Connecting to the Furnace
Proper connection to your furnace is crucial for the Aprilaire 700’s operation. The humidifier integrates into the cold air return duct, utilizing the furnace’s blower to distribute moisture. Ensure compatibility with your blower and fan coil unit; consult the unit’s specifications for appropriate airflow ranges.
Securely mount the humidifier to the ductwork, ensuring a tight seal to prevent air leaks. The connection should not obstruct airflow significantly. Verify the furnace’s electrical system can support the humidifier’s power requirements. Follow all local codes and regulations during the connection process. Professional installation is always recommended for optimal performance and safety.
Blower and Fan Coil Unit Compatibility

The Aprilaire 700 humidifier functions optimally with a wide range of blower and fan coil units, but verifying compatibility is essential. Ensure your system delivers sufficient static pressure for effective moisture distribution throughout your home. Insufficient airflow can hinder the humidifier’s performance, leading to uneven humidity levels.
Consult your furnace or fan coil unit’s documentation to confirm its airflow capacity meets the Aprilaire 700’s requirements. Improperly matched systems may require adjustments or upgrades. Professional HVAC technicians can assess your existing setup and recommend necessary modifications for seamless integration and efficient operation.
Water Supply Connection
Establishing a reliable water supply is crucial for the Aprilaire 700’s functionality. A direct connection to a cold water line, typically ½ inch in diameter, is required. Ensure the water line is accessible and positioned to facilitate easy connection to the humidifier unit. A shut-off valve should be installed upstream of the humidifier to allow for maintenance and prevent water damage.
Properly sized tubing and fittings are essential to prevent leaks and maintain consistent water flow. Avoid using compression fittings, opting instead for threaded connections with Teflon tape for a watertight seal. Always check for leaks after connecting the water line and before powering on the humidifier.
Connecting to the Water Line
To connect to the water line, first shut off the water supply at the nearest valve. Carefully drill a ½ inch hole into the cold water pipe, ensuring it’s a safe distance from any electrical wiring or other utilities. Install a saddle valve or a tee fitting with a shut-off valve to the cold water line.
Attach the provided tubing from the humidifier to the outlet of the shut-off valve, securing it with appropriate fittings. Double-check all connections for tightness and apply Teflon tape to threaded joints to prevent leaks. Slowly turn the water supply back on and inspect for any drips or signs of water escaping.
Humidifier Unit Mounting
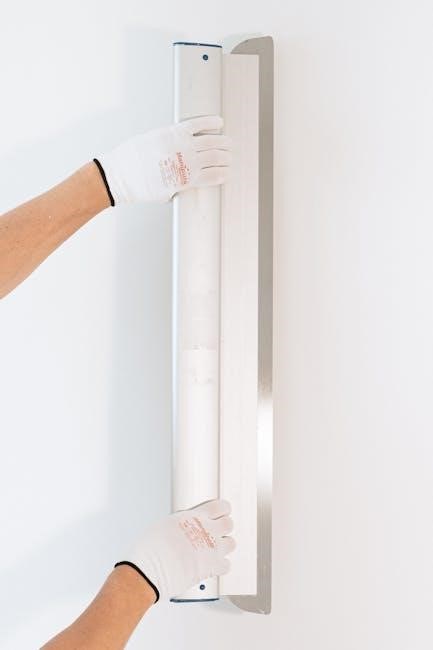
Securely mount the Aprilaire 700 humidifier unit directly to the ductwork, ensuring it’s positioned for optimal airflow and easy access for maintenance. Use self-tapping screws appropriate for the duct material, and verify the unit is level to prevent water pooling.
Confirm sufficient clearance around the unit for filter changes and servicing. The unit should be mounted with the water supply connection facing downwards to minimize potential leaks. Properly support the weight of the humidifier to avoid stressing the ductwork.
Electrical Wiring
Proper electrical connections are crucial; consult the wiring diagram for safe and effective power supply integration, including essential grounding instructions.
Wiring Diagram Overview
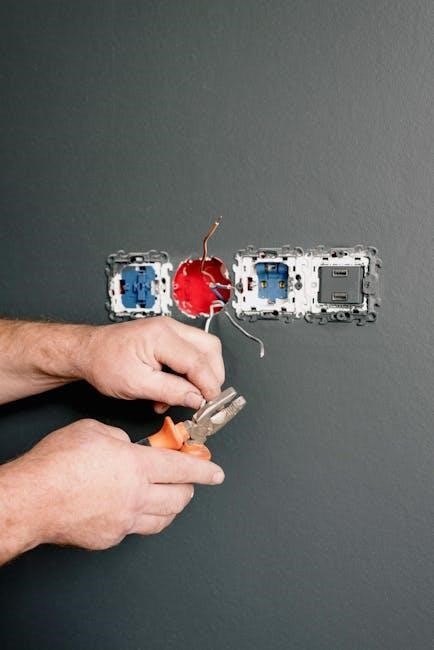
Understanding the wiring diagram is paramount for a successful Aprilaire 700 installation. The diagram illustrates the recommended method for detecting furnace operation, ensuring seamless integration with your existing HVAC system. It details how to connect the humidifier to the furnace’s electrical components, specifically outlining the necessary connections for both blower and fan coil unit compatibility.
Carefully review the diagram before commencing any electrical work. Pay close attention to the color coding and terminal designations to avoid miswiring. The diagram also showcases the proper grounding procedures, a critical safety measure to prevent electrical hazards. Incorrect wiring can lead to malfunction or damage to both the humidifier and your furnace, so precision is key. Always prioritize safety and consult a qualified HVAC professional if you are unsure about any aspect of the wiring process.
Connecting the Power Supply
Once the wiring diagram is understood, carefully connect the power supply to the Aprilaire 700. Ensure the furnace’s power is completely shut off at the breaker before beginning this step – safety first! Identify the designated terminals for the power supply connection, referencing the wiring diagram for accurate placement.
Securely attach the wires, ensuring a tight and reliable connection. Loose connections can cause intermittent operation or electrical hazards. Double-check all connections against the diagram before restoring power. The Aprilaire 700 requires a stable power source to function correctly, so verify voltage compatibility. If any uncertainty exists, consult a qualified electrician to guarantee a safe and proper power supply connection.
Grounding Instructions
Proper grounding is crucial for the safe operation of your Aprilaire 700 humidifier. It protects against electrical shock and ensures the device functions as intended. Locate the grounding terminal within the humidifier unit – it’s typically marked with a ground symbol or green color.
Connect a dedicated grounding wire to this terminal, securely attaching it to your home’s electrical grounding system. Verify the grounding wire is of the correct gauge and meets local electrical code requirements. Never attempt to operate the humidifier without a properly established ground connection. If you are unsure about grounding procedures, immediately consult a qualified electrician for assistance and to avoid potential hazards.
Initial Setup and Programming
Begin by setting initial humidifier parameters to match your home’s conditions, utilizing the user-friendly touchscreen display and referencing Operation Guide (Table 1).
Initial Humidifier Settings
Upon initial power-up, the Aprilaire 700 humidifier requires careful setting adjustments to align with your home’s specific humidity needs. The control is installed within the cold air return duct, necessitating a first-season calibration.
Begin by accessing the touchscreen display, which features a backlit interface and an intuitive menu-driven system. The installation wizard assists in guiding you through the initial programming steps. Carefully consider your home’s insulation, climate, and typical indoor temperature when establishing the desired humidity level.
Refer to Operation Guide (Table 1) for detailed instructions and recommended settings based on various home conditions. Proper initial settings are crucial for efficient operation and optimal comfort throughout the heating season.
Using the Touchscreen Display
The Aprilaire 700 boasts a user-friendly touchscreen display with a backlight, providing clear visibility and easy navigation. This intuitive interface allows for seamless programming and operation of your whole-house humidifier. The menu-driven system simplifies adjustments to humidity levels, fan settings, and other key parameters.
Explore the various options available on the display to customize the humidifier’s performance to your specific needs. The touchscreen responds quickly to touch, making adjustments effortless. Utilize the installation wizard for guided setup, ensuring optimal functionality from the start.
Familiarize yourself with the display’s icons and functions for efficient control and monitoring of your home’s humidity.
Operation Guide (Table 1) Reference
The Aprilaire 700’s Operation Guide, specifically Table 1, is crucial for initial setup and ongoing performance optimization. This table details recommended settings based on your home’s specific conditions, ensuring efficient and comfortable humidity control during the first heating season.
Refer to Table 1 to determine the appropriate humidity level for your climate and home size. It provides guidance on adjusting the humidifier to match your needs, preventing both excessive dryness and unwanted condensation.
Understanding the table’s parameters will allow you to fine-tune the system for optimal performance and energy efficiency. Regularly consult Table 1 as seasonal changes occur.
Troubleshooting Common Issues
Addressing installation errors, water supply problems, and electrical issues are key to maintaining optimal performance of your Aprilaire 700 humidifier.
Addressing Installation Errors
Carefully review the installation guide if encountering issues; professional HVAC installation is always recommended. Incorrect wiring, as detailed in the wiring diagram, can cause malfunctions. Ensure proper connection to the furnace and water line, verifying compatibility with blower and fan coil units.
Double-check the humidifier unit mounting for stability and secure placement within the cold air return duct. If the touchscreen display isn’t functioning, revisit the initial humidifier settings and programming steps. Utilize the installation wizard if available, and consult the operation guide (Table 1) for specific error codes and solutions. A manual humidifier control (Model 700M) may require different troubleshooting steps.
Resolving Water Supply Problems
Ensure a secure connection to the water line, verifying no leaks after installation. Low water pressure can hinder humidifier operation; check your home’s water supply. Inspect the water line for kinks or obstructions that may restrict flow to the Aprilaire 700. If using a saddle valve, confirm it’s properly installed and piercing the water pipe correctly.
Sediment buildup within the water line can also cause issues; consider flushing the line before connecting. Refer to the operation guide (Table 1) for troubleshooting specific water-related error codes displayed on the touchscreen. For persistent problems, consult a plumber to assess your home’s water system and ensure adequate supply to the humidifier.
Dealing with Electrical Issues
Always disconnect power at the breaker before inspecting any electrical connections. Verify the wiring diagram is followed precisely during installation, ensuring correct connections for the power supply and grounding. If the unit fails to power on, check the breaker hasn’t tripped and the wiring connections are secure.
A faulty transformer or wiring can also cause electrical problems; professional diagnosis is recommended. Refer to the touchscreen display for error codes related to electrical faults, consulting Table 1 for guidance. Never attempt repairs beyond your expertise; contact a qualified HVAC technician for complex electrical issues to avoid safety hazards.
Maintenance and Care
Regular filter replacement and humidifier unit cleaning are crucial for optimal performance. Winterization procedures should be followed to prevent damage during colder months.
Regular Filter Replacement
Maintaining optimal performance of your Aprilaire 700 humidifier hinges on consistent filter replacement. The frequency depends on your home’s air quality and usage, but generally, filters should be checked monthly during the heating season. A clogged filter restricts airflow, diminishing humidification efficiency and potentially causing system strain.
Aprilaire recommends replacing the evaporative pad annually for peak performance. Inspect the pad for mineral buildup or discoloration, indicating it’s time for a change. Replacement is straightforward; consult the installation manual for detailed instructions. Utilizing genuine Aprilaire replacement filters ensures compatibility and maintains the humidifier’s warranty. Ignoring filter maintenance can lead to reduced humidity levels and increased energy consumption.
Cleaning the Humidifier Unit
Regular cleaning of your Aprilaire 700 humidifier is crucial for preventing mineral buildup and maintaining hygienic operation. Before cleaning, always disconnect the power supply to avoid electrical hazards. The humidifier’s water panel and reservoir should be inspected and cleaned at least annually, or more frequently in areas with hard water.
Use a mild cleaning solution, like vinegar diluted with water, to remove scale and deposits. Avoid abrasive cleaners that could damage the unit’s components. Rinse thoroughly with clean water after cleaning. Inspect the drain line for clogs and flush it with water to ensure proper drainage. A clean humidifier operates more efficiently and delivers healthier air.
Winterization Procedures
Preparing your Aprilaire 700 for the off-season is vital to prevent damage from freezing temperatures and ensure smooth operation next heating season. Before extended periods of non-use, completely drain the humidifier unit and water supply lines. Disconnect the water supply to prevent accidental refills and potential freezing.
Remove the water panel for thorough drying and storage in a clean, dry location. Consider applying a small amount of mineral oil to the panel to prevent drying and cracking. Power off the humidifier at the breaker and ensure all electrical connections are secure. Proper winterization safeguards your investment and extends the humidifier’s lifespan.